Unlock the Secret to Healthier Snacking: Homemade No-Bake Cereal Bars
In today's fast-paced world, finding quick, healthy snack options for the family can feel like an Olympic sport. We're constantly bombarded with tempting, brightly packaged store-bought snacks that often hide a secret stash of added sugars, unhealthy fats, and artificial ingredients. But what if there was a way to create delicious, nutritious treats at home in minutes? Enter the humble but mighty no bake breakfast cereal bars – a game-changer for busy parents and a universally loved snack for kids and adults alike.
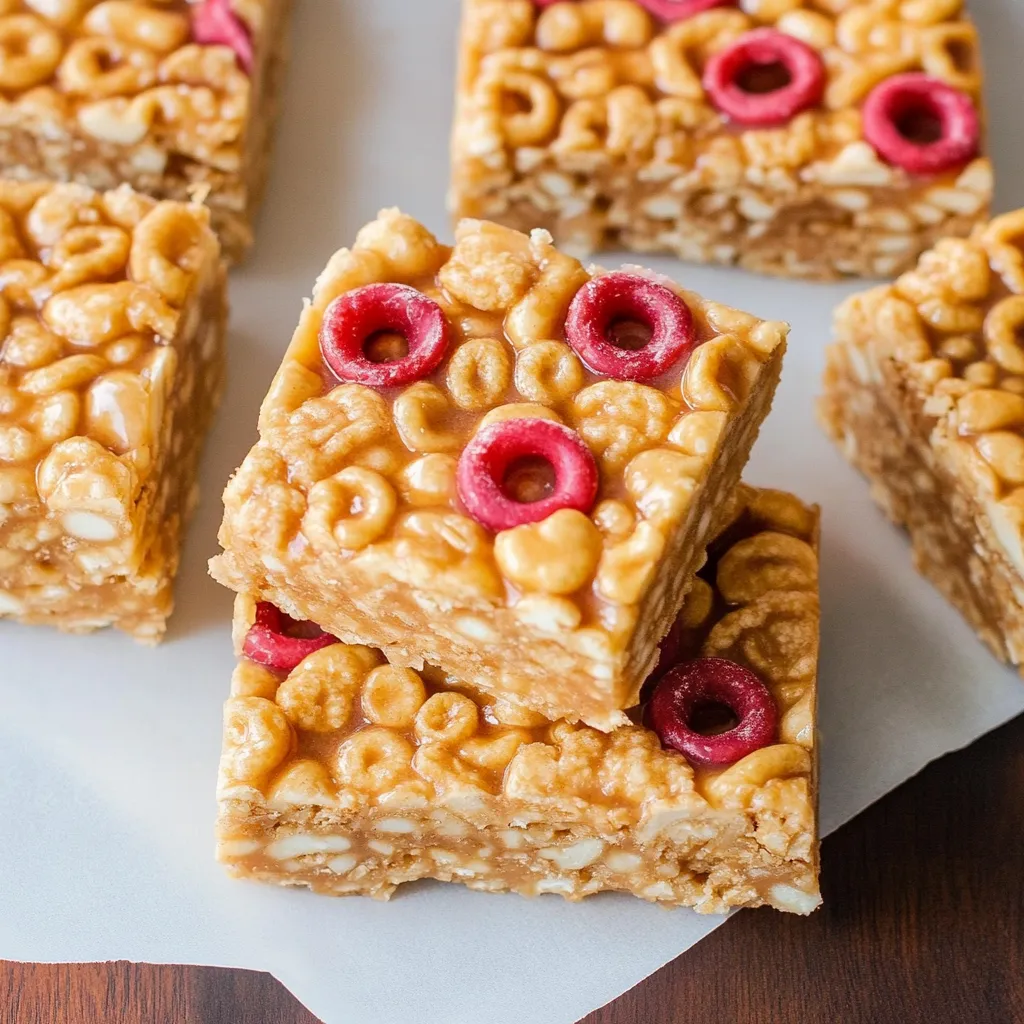
Imagine transforming simple pantry staples into irresistible, chewy, and crunchy bars that are ready in a flash, require no baking, and stay fresh in your fridge. These homemade marvels are not just an alternative; they're an upgrade, offering complete control over ingredients, endless customization possibilities, and a significant step towards healthier eating habits. Say goodbye to mysterious labels and hello to wholesome goodness with these incredible no bake breakfast cereal bars.
Why Homemade No-Bake Cereal Bars Trump Store-Bought Alternatives
The appeal of store-bought snack bars is understandable: convenience. But at what cost? Often, they're loaded with high-fructose corn syrup, hydrogenated oils, artificial colors, and preservatives that offer little nutritional value. When you choose to make your own no bake breakfast cereal bars, you're investing in your family's health and reaping a host of benefits:
- Ingredient Control: You decide what goes in. Opt for whole-grain cereals, natural sweeteners like honey or maple syrup, and healthy fats from nut butters. This is particularly crucial for managing allergies or dietary restrictions.
- Cost-Effective: Pantry staples are typically far cheaper per serving than pre-packaged snacks. Making a batch of no bake breakfast cereal bars at home stretches your grocery budget further.
- No Unwanted Additives: Say goodbye to artificial flavors, colors, and preservatives. Your homemade bars are pure, wholesome goodness.
- Customization Galore: The possibilities are truly endless, allowing you to tailor flavors and textures to individual preferences or seasonal cravings.
- Engaging for Kids: The simple, no-bake process makes it a perfect kitchen activity for children, fostering an interest in healthy eating and basic cooking skills.
These bars aren't just snacks; they're quick breakfasts, lunchbox fillers, post-workout fuel, and perfect pick-me-ups for those after-school hunger pangs. Their chewy texture, combined with a satisfying crunch, delivers a perfect balance that will keep everyone reaching for more.
The Magic Behind the No-Bake Method
One of the most appealing aspects of these cereal bars is the "no-bake" part. This isn't just a marketing gimmick; it's a testament to clever ingredient interaction. The combination of a creamy nut butter and a natural liquid sweetener, when gently heated, creates a powerful binding agent. As this mixture cools, it solidifies, holding all the crunchy cereal pieces together without ever needing an oven. This method is incredibly time-efficient, typically taking only about 10 minutes of active prep time, making it ideal for even the busiest schedules.
Crafting Your Perfect No-Bake Breakfast Cereal Bars: The Essential Ingredients
The beauty of this recipe lies in its simplicity, utilizing just a handful of core ingredients that transform into something truly magical. For even more customization ideas, check out our guide on Simple 4-Ingredient No-Bake Cereal Bars for Easy Customization.
- Peanut Butter (or Nut/Seed Butter of Choice): This is the creamy, protein-rich foundation that binds everything together. Its natural stickiness and richness provide structure and satisfying flavor.
- Tip: Opt for natural peanut butter with minimal added sugar and oil. For a nut-free version, sunflower seed butter (like SunButter) works wonderfully. Almond butter or cashew butter are also excellent alternatives for different flavor profiles.
- Honey (or Liquid Sweetener): Honey provides natural sweetness and, critically, contributes to the chewy, "sets-up-when-chilled" texture. When heated with the peanut butter, it creates that essential sticky mixture.
- Tip: For a vegan option, pure maple syrup or agave nectar can be substituted for honey. Adjust sweetness to your preference.
- Dry Cereal: The star of the show, providing that satisfying crunch and endless opportunities for customization.
- Tip: Choose whole-grain, low-sugar cereals like puffed rice, corn flakes, oat squares, or shredded wheat for a healthier bar. Avoid overly sugary or heavily flavored cereals if you're aiming for a truly healthy snack. Different cereals yield distinct textures and flavors, so experiment!
- Vanilla Extract: Just a splash of vanilla extract elevates all the other flavors, adding warmth and depth to your no bake breakfast cereal bars without overpowering them. It's that secret ingredient that makes them taste truly homemade.
Optional Power-Ups & Flavor Boosters: Elevate Your Bars
This is where you can truly make these bars your own, adding extra nutrition, texture, and flavor:
- Nuts and Seeds: Chia seeds, flax seeds, hemp hearts, pumpkin seeds, or chopped almonds/walnuts add healthy fats, protein, and fiber.
- Dried Fruits: Dried cranberries, raisins, chopped apricots, or even mini chocolate chips can add bursts of sweetness and chewiness.
- Coconut Flakes: Toasted or untoasted, coconut adds a tropical note and lovely texture.
- Spices: A pinch of cinnamon, nutmeg, or pumpkin pie spice can transform the flavor profile, especially for seasonal variations.
- Protein Powder: For an extra protein boost, stir in a scoop of unflavored or vanilla protein powder with the cereal.
Your Step-by-Step Guide to Irresistible No-Bake Cereal Bars
Making these bars is incredibly straightforward, but a few key steps ensure perfection every time. For even faster options, check out Minute No-Bake Cereal Bars: Your Quick & Easy Snack Solution.
- Prepare Your Pan: Line an 8x8-inch baking dish with parchment paper, leaving a generous overhang on the sides. This simple step is a game-changer for easy removal and cleanup.
- Melt the Binder: In a medium saucepan, combine your chosen nut butter and honey (or sweetener). Place it over low heat.
- Crucial Tip: Low heat is essential! Too high, and the mixture can burn, separate, or become grainy. Stir continuously for about 3 minutes until the mixture is completely smooth, warm, and just slightly bubbly around the edges.
- Remove and Enhance: Take the pan off the heat and stir in the vanilla extract. The residual heat will ensure the vanilla's aromatic compounds are released without cooking off its delicate flavor.
- Add the Cereal: Pour your dry cereal into the warm peanut butter mixture. Fold gently but thoroughly with a spatula until every piece of cereal is evenly coated. Work quickly but carefully to avoid crushing the cereal too much. If adding any optional mix-ins (nuts, seeds, dried fruit), stir them in now as well.
- Press into Perfection: Transfer the coated cereal mixture into your prepared pan, spreading it evenly to fill all corners. This mixture will be sticky and somewhat resistant.
- The Golden Rule: Press, Press, Press! This cannot be overstated. Using the back of a spatula, the bottom of a measuring cup, or even your hands (lightly dampened with water or cooking spray to prevent sticking), press the mixture down very firmly and evenly into the pan. This compression is absolutely crucial for creating bars that hold together beautifully when cut.
- Chill for Solidification: Refrigerate the pan for at least an hour, or until the bars are completely firm and cooled. This chilling time allows the honey and peanut butter mixture to solidify, ensuring your no bake breakfast cereal bars hold their shape perfectly.
- Slice and Serve: Once firm, use the parchment paper overhang to lift the entire slab out of the pan and onto a cutting board. With a sharp, lightly oiled knife, cut into desired bar sizes.
Tips for Success and Creative Variations
- Storage: Store your homemade no bake breakfast cereal bars in an airtight container in the refrigerator for up to a week. They can also be individually wrapped and frozen for up to a month, perfect for grab-and-go convenience.
- Prevent Sticking: If your knife becomes sticky during cutting, rinse it under hot water and dry it between cuts.
- Make it Vegan: Use maple syrup or agave instead of honey, and ensure your cereal is vegan-friendly.
- Go Gluten-Free: Opt for certified gluten-free cereals like puffed rice, corn flakes, or oat squares.
- Lower Sugar: Use unsweetened cereal, reduce the amount of honey/sweetener, and rely on natural sweetness from dried fruits.
- Flavor Profile Ideas:
- Berry Blast: Use berry-flavored cereal, add dried cranberries or blueberries.
- Tropical Twist: Use puffed rice, add shredded coconut and chopped dried mango or pineapple.
- Chocolate Peanut Butter Dream: Stir in a tablespoon of cocoa powder with the binding mixture and add mini chocolate chips.
- Spiced Autumn: Add a teaspoon of cinnamon and a pinch of nutmeg, along with chopped pecans or pumpkin seeds.
Conclusion
Homemade no bake breakfast cereal bars are more than just a recipe; they're a lifestyle hack for healthier, happier snacking. They offer unparalleled convenience, endless customization, and the peace of mind that comes from knowing exactly what you and your family are eating. From quick breakfasts to wholesome lunchbox additions and satisfying after-school snacks, these chewy, crunchy delights are sure to become a cherished family favorite. So, ditch the store-bought options and embrace the simplicity and deliciousness of making your own – your taste buds and your health will thank you!
